Installing a roof-mounted antenna can be an excellent solution for boosting your home’s television reception. In Australia, with the transition from analogue to digital TV broadcasting, many homeowners have found a need to improve their signal quality. While there are professional services available for this task, with the right tools, instructions, and safety measures in place, you can certainly accomplish this task yourself. This comprehensive guide will outline how to install a roof-mounted antenna in your Australian home.
Understanding Roof-Mounted Antennas
Roof-mounted antennas are designed to receive broadcast television signals over the air. They can be particularly useful in areas where signal strength is weak due to distance from broadcasting stations, physical barriers, or interference from other electronic devices.
Roof-mounted antennas come in different shapes and sizes, and the choice often depends on the specific needs of your household. Before buying an antenna, it’s advisable to use online resources such as the Australian Government’s mySwitch tool, which provides information about your local transmission towers and the type of antenna required.
Required Tools and Materials
Before you begin the installation process, gather all the necessary tools and materials. You’ll likely need:
- A roof-mounted antenna
- Mounting hardware (usually provided with the antenna)
- Coaxial cable
- Drill
- Screwdriver
- Adjustable wrench
- Cable clips
- Silicone sealant
- Ladder
- Safety harness and helmet
Installation Process
Step 1: Safety Precautions
Before you begin the installation, it’s essential to prioritize safety. Be aware of any power lines near your roof to avoid any electrical hazards. Always wear a safety harness when working at heights, and ensure the ladder is on firm and level ground.
Step 2: Choose the Mounting Location
The ideal location for mounting an antenna is usually the highest point on your roof, away from trees or other physical obstructions. You should also consider the location of your TV and the route the coaxial cable will take from the antenna to the TV.
Step 3: Install the Mount
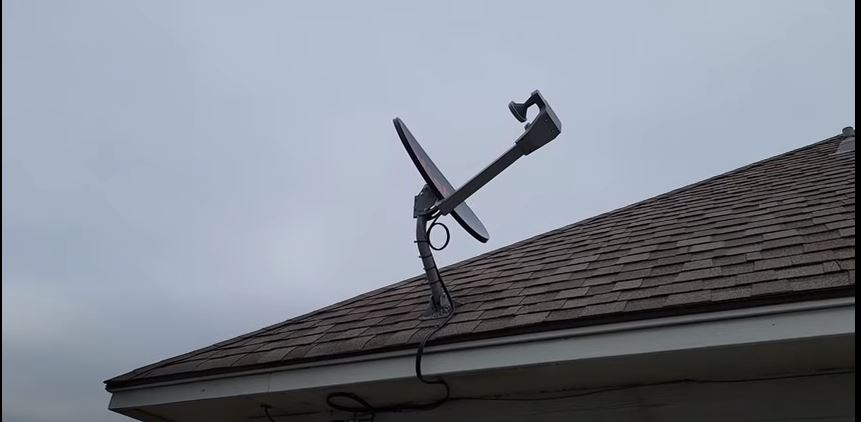
 Most antennas come with a mount. Drill holes according to the mount size and fix it to your roof using screws. Make sure the mount is firmly attached and can withstand winds. Use silicone sealant around the drilled holes to prevent any potential leaks.
Step 4: Attach the Antenna
Once the mount is installed, attach your antenna to it. The antenna should be directed towards the nearest transmission tower for optimal reception.
Step 5: Connect the Coaxial Cable
Run the coaxial cable from the antenna to your TV. Use cable clips to secure the cable along the route to prevent any damage. Once the cable reaches your TV, connect it to the antenna input on the back of your television.
Step 6: Ground the Antenna
For safety, it’s important to ground your antenna and the coaxial cable. This can be done by connecting a grounding wire from the antenna and cable to a grounding rod.
Step 7: Test the Reception
Once everything is set up, turn on your TV and scan for channels. Adjust the antenna if necessary to achieve the best signal quality.
Maintenance and Safety
Regular maintenance of your roof-mounted antenna is essential. Regularly check for loose fittings, rust, or any signs of damage, especially after harsh weather. Ensure that the antenna is well-grounded to protect against lightning strikes or electrical faults.
Conclusion
Installing a roof-mounted antenna on your Australian home can enhance your television viewing experience by providing clearer picture quality. While the process may seem complex, with the right preparation, tools, and safety precautions, it’s a task that you can confidently carry out yourself. If you have any concerns or are unsure about the process, consider hiring a professional to ensure a safe and effective installation.


